Ok, friends! It's time for another tutorial :) These adorable envelope clutches have a stylish pleated exterior. These are a bit more time consuming than a typical envelope clutch because of the extra pleated detailing but it's totally worth it!
These clutches can be customized to any dimension and I decided to make mine 5inches x 10inches.

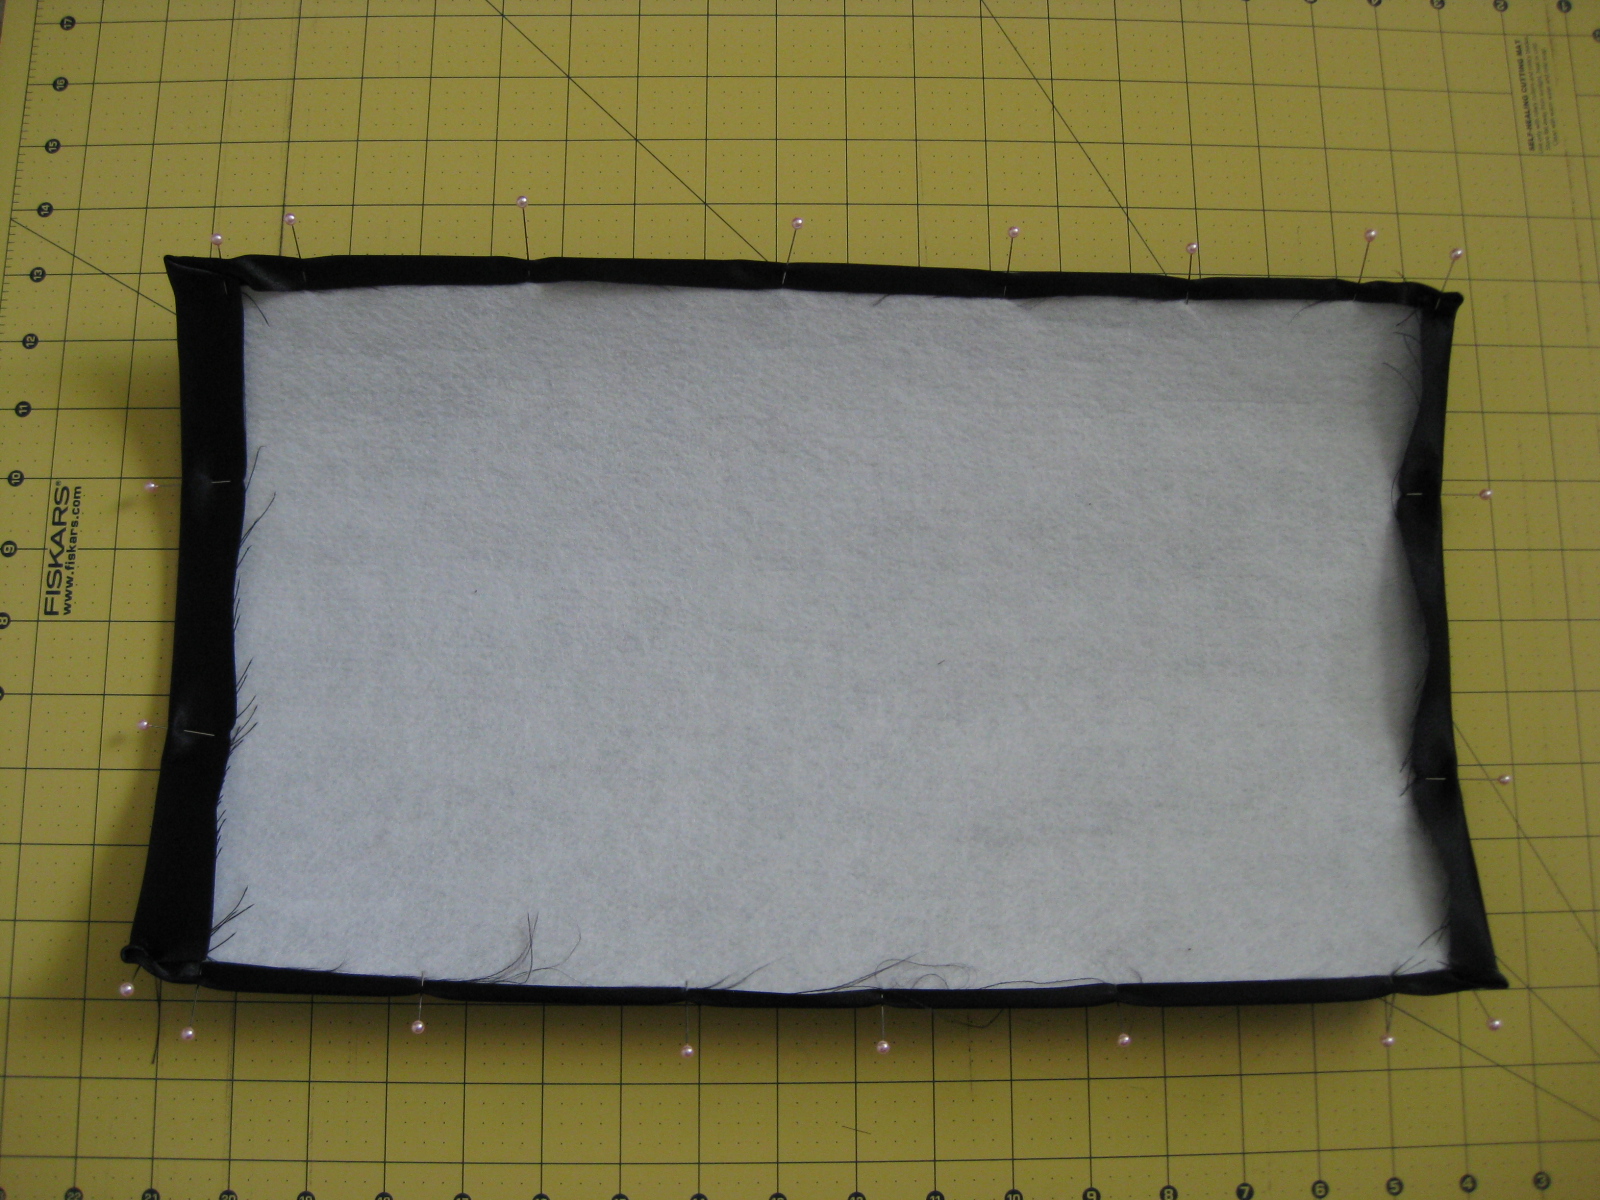
I used a black silk for the exterior, extra sturdy interfacing, and a deep plum silk for a gorgeous pop of color on the interior. The clutch will be folded in thirds so cut your fabric 3 times the final height plus an extra inch on each side for seam allowance (ex]17inches x 12inches for a clutch 5inches x 10inches).

Pin the exterior fabric around the interfacing.
Next, create the envelope pocket by folding the bottom of the fabric/interfacing up. I wanted my clutch to be 5inches tall, so I marked the fabric 5 inches from the bottom on each side.

Using a straight edge fold the fabric up from the bottom and pin the fabric in place.

Fold the remaing fabric down over the envelope pocket. This will be the front of the clutch. Place pins on each side to mark the front fold line.

Cut the fabric for the pleated exterior about 6 inches wider and 3 times taller than the clutch. I used a black silk chiffon fabric for the pleated detailing and cut it 16inches x 15inches.

Fold the fabric in half and baste using a wide stitch. Ruching the fabric first makes it easier to pleat. To create a ruched texture, hold the bottom (bobbin side) thread while pulling the top thread.

Place the ruched fabric over the exterior of the clutch with the folded side just above the fold line of the top flap. Pin the pleats of the ruched fabric to the exterior of the clutch.

Pin the sides of the ruched/pleated fabric under the exterior fabric and interfacing.


Sew the pleated fabric to the exterior fabric as close to the edge of the pleating as possible.


Mark the center of the foldline for the bottom front of the clutch.

One inch above that foldine insert the back of the magnetic snap closure with the magnetic snap facing out on the exterior of the clutch.


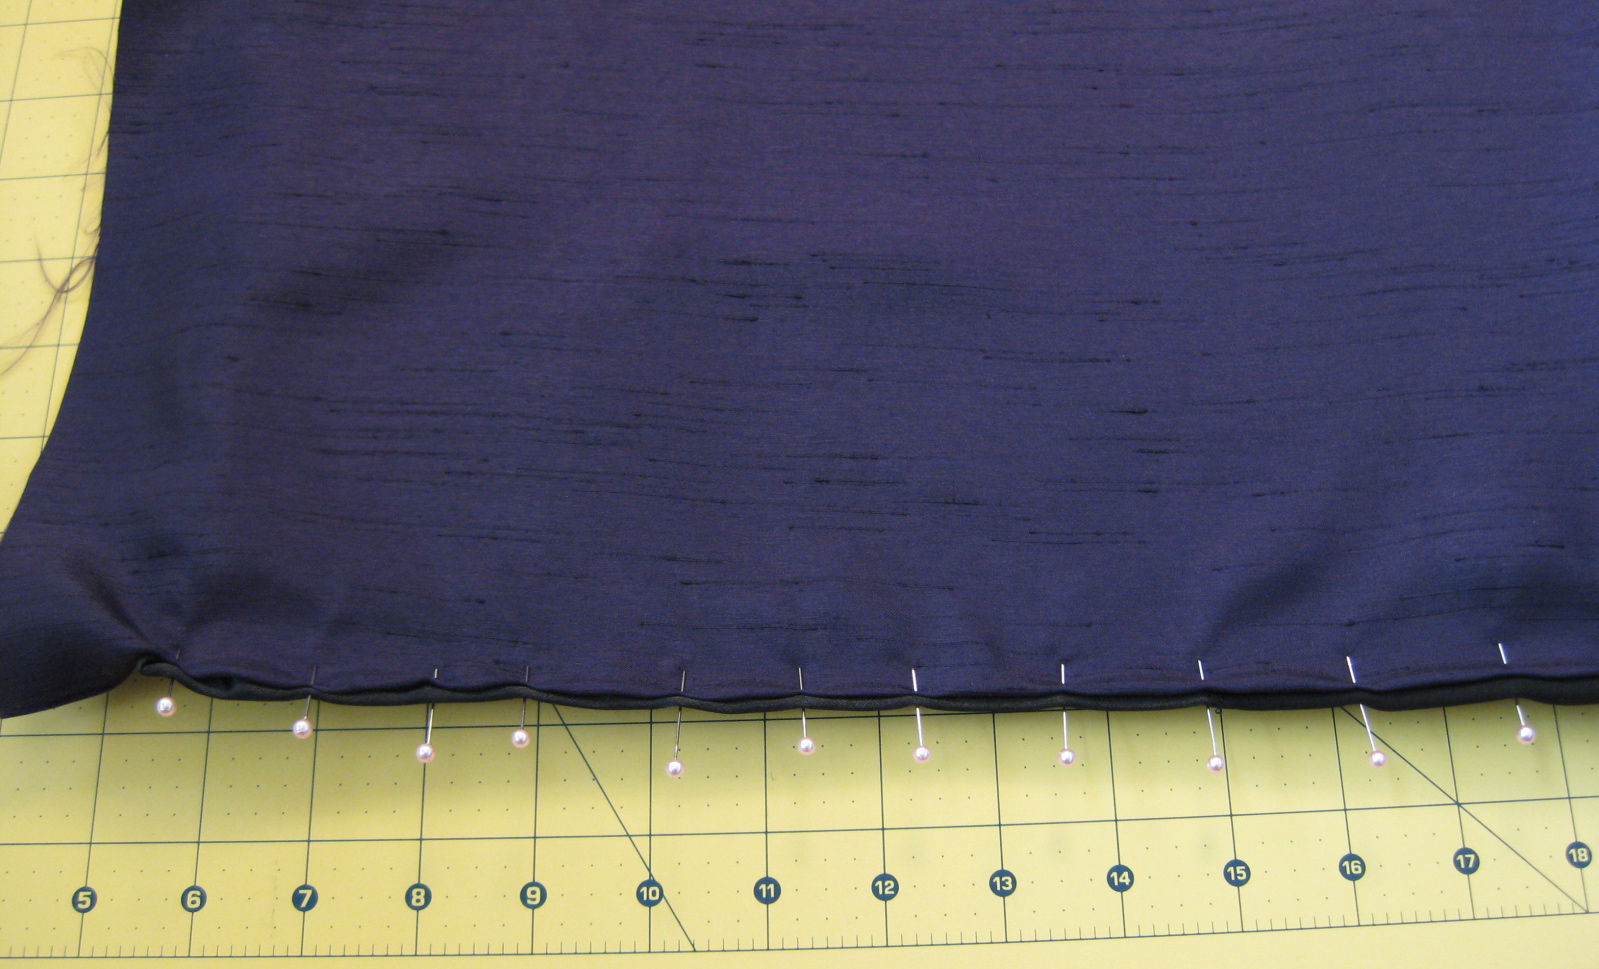
Folding the edges under, pin the interior fabric to the interfacing about 1/8inch from the edge around the clutch leaving the bottom of the envelope flap open.
Fold the envelope flap to the magnetic snap and mark the placement location for the magenetic snap front.

Secure the front of the magnetic snap to the right side of the interior fabric. Tucking the edges under, pin the exterior fabric, ruched fabric and interior fabric along the edge.

Sew the entire perimeter of the clutch to secure the interior fabric, interfacing and exterior fabric together.

Fold up the bottom of the clutch to create the envelope pocket. Measure each side to ensure they're even.

Sew along the side edges of the pocket to secure it in place.

Fold the envelop flap down to secure it with the magnetic snap and Voila!
Well, I acutally don't have a picture of the finished product (silly me, I forgot to take a picture!) but trust me, it's super cute :) The finished products looks similar to this but with a straight envelope flap.

Add extra adornments of beading or flowers for the perfect finishing touch!


