Showing posts with label Handmade. Show all posts

Elegant Bridal Clutch

One of my favorite handmade items from my wedding was my bridal clutch. I knew I wanted an elegant style that complimented the details of my dress. My dress was rather simple save for the ruffle cascade in the back and the beaded sash so I used those attributes for the overall look of the clutch.
Copyright Resolusean Photography
I opted for a white dupioni silk for both the interior and exterior. Using strips of the silk fabric, I created a ruffle detailing along the right side of the handbag that incorporated the ruffles along the back of my dress.

Fortunately I had a beautiful brooch that I pinned along the ruffles. The brooch complimented the white gold and diamonds of my bridal jewelry but also brought in the gold tones from our wedding theme. 

I love the way the clutch turned out and feel that it truly was the perfect accessory for my wedding gown.

Formal Pleated Clutch - Tutorial

Ok, friends! It's time for another tutorial :) These adorable envelope clutches have a stylish pleated exterior. These are a bit more time consuming than a typical envelope clutch because of the extra pleated detailing but it's totally worth it!

These clutches can be customized to any dimension and I decided to make mine 5inches x 10inches.

I used a black silk for the exterior, extra sturdy interfacing, and a deep plum silk for a gorgeous pop of color on the interior. The clutch will be folded in thirds so cut your fabric 3 times the final height plus an extra inch on each side for seam allowance (ex]17inches x 12inches for a clutch 5inches x 10inches).

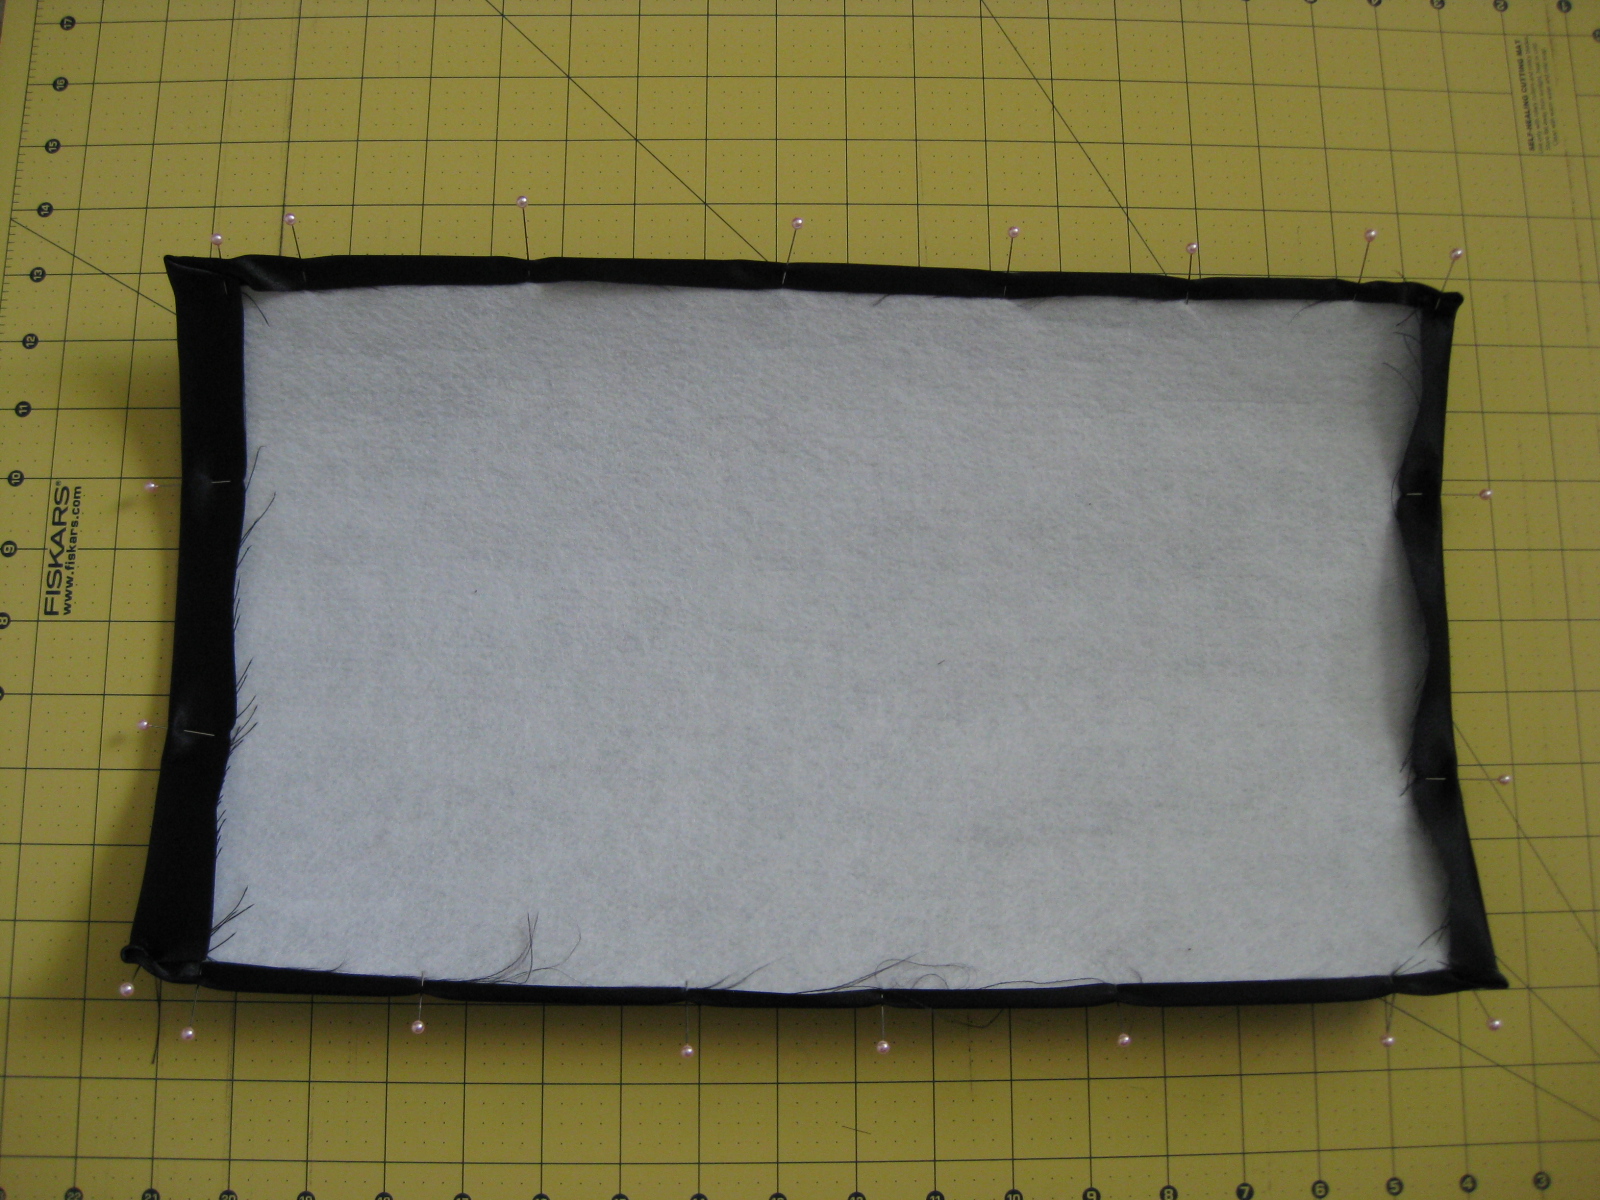
Pin the exterior fabric around the interfacing.

Next, create the envelope pocket by folding the bottom of the fabric/interfacing up. I wanted my clutch to be 5inches tall, so I marked the fabric 5 inches from the bottom on each side.

Using a straight edge fold the fabric up from the bottom and pin the fabric in place.

Fold the remaing fabric down over the envelope pocket. This will be the front of the clutch. Place pins on each side to mark the front fold line.

Cut the fabric for the pleated exterior about 6 inches wider and 3 times taller than the clutch. I used a black silk chiffon fabric for the pleated detailing and cut it 16inches x 15inches.

Fold the fabric in half and baste using a wide stitch. Ruching the fabric first makes it easier to pleat. To create a ruched texture, hold the bottom (bobbin side) thread while pulling the top thread.

Place the ruched fabric over the exterior of the clutch with the folded side just above the fold line of the top flap. Pin the pleats of the ruched fabric to the exterior of the clutch.

Pin the sides of the ruched/pleated fabric under the exterior fabric and interfacing.
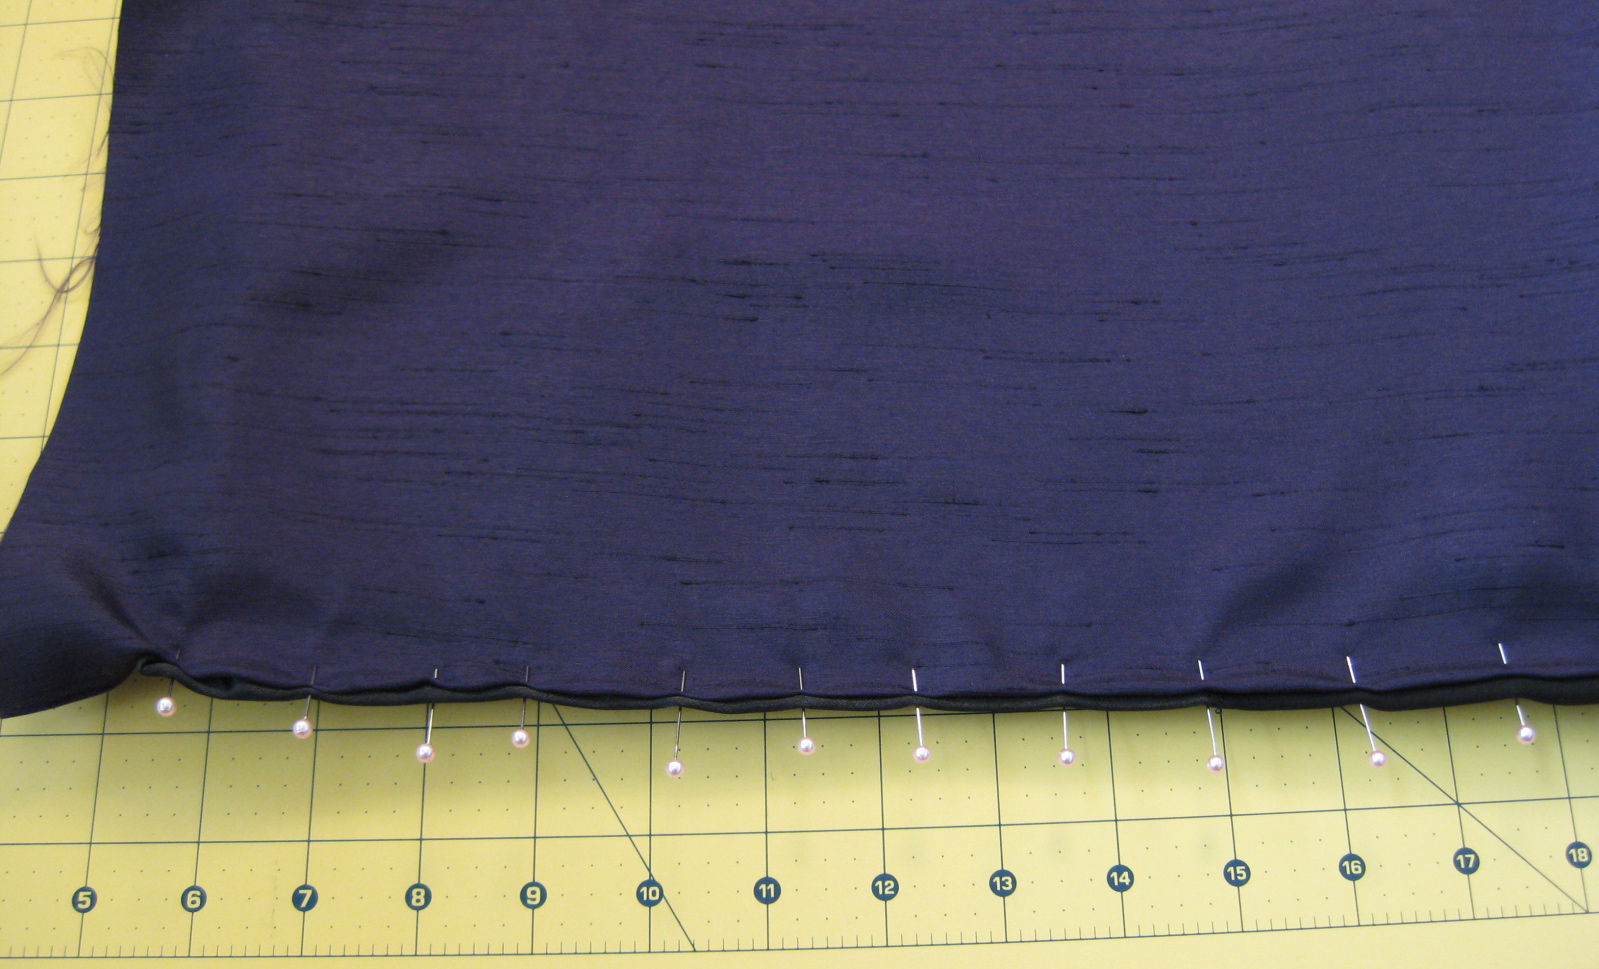
Pin the bottom of the ruched fabric under the flap of the clutch creating pleats by following the ruches of the fabric.

Sew the pleated fabric to the exterior fabric as close to the edge of the pleating as possible.

Mark the center of the foldline for the bottom front of the clutch.

One inch above that foldine insert the back of the magnetic snap closure with the magnetic snap facing out on the exterior of the clutch.

Folding the edges under, pin the interior fabric to the interfacing about 1/8inch from the edge around the clutch leaving the bottom of the envelope flap open.

Fold the envelope flap to the magnetic snap and mark the placement location for the magenetic snap front.

Secure the front of the magnetic snap to the right side of the interior fabric. Tucking the edges under, pin the exterior fabric, ruched fabric and interior fabric along the edge.

Sew the entire perimeter of the clutch to secure the interior fabric, interfacing and exterior fabric together.

Fold up the bottom of the clutch to create the envelope pocket. Measure each side to ensure they're even.

Sew along the side edges of the pocket to secure it in place.

Fold the envelop flap down to secure it with the magnetic snap and Voila!
Well, I acutally don't have a picture of the finished product (silly me, I forgot to take a picture!) but trust me, it's super cute :) The finished products looks similar to this but with a straight envelope flap. 

Add extra adornments of beading or flowers for the perfect finishing touch!

Personalized Goodie Bags - Candy Bar

Who doesn't love candy?!? I love the idea of candy bars at wedding and thought it would be a great way to display a wide selection of yummy treats for our guests - especially since open bars often lend a need for late night snacks :)


I found the glass containers at Save on Crafts. They had so many beautiful glass containers it was hard to choose at first! Once I decided on the candy it was easier to figure out which containers would work best. Michael's had scalloped labels from Gartner Studios. I downloaded the corresponding template from their website to create the labels for each candy jar.

Paper Mart had the best selection of goodie bags (I also bought the boxes for our Welcome Boxes here). These bags are supposed to be great for printing directly on, which is fantastic! Our colors were green and gold and since the candy was primarily green I thought gold ink would be a nice touch. Unfortunately, gold ink from a regular house printer turns out more "brown" than gold. Thankfully Love to Create Stamps has the nicest owner, Todd, who designs the most gorgeous custom stamps. I have to give a shout out to Todd. He was really responsive and very helpful :)

Once I received the stamp, which was in about 5 days - again, Todd was amazing! - I bought a couple gold ink pads and started stamping away. It took a few tries to figure out exactly how to press on the stamp so everything was even. All in all, it was a fun project and nice personal touch that I was really excited to have for the wedding.


Missing In Action

Sheesh! I can't believe how long it's been since my last blog post, but it's even harder to believe how many fantastic things have happened in that time! Several amazing custom orders, a new embroidery machine, and three family weddings later - including my own - it's almost July!

I've learned a lot over the time that I've been gone and plan to share lots of wonderful DIY projects. I also have used quite a few vendors and Etsy sellers so I'll be posting some reviews as well. Hopefully it will be helpful for anyone planning upcoming events or just wanting to try some new things. Stay tuned!


Lily and Will Diaper Bag - Simplicity Pattern 2924

One of my childhood friends is going to be a mommy of a little girl!! I am so happy for her :) I wanted to make her a baby item that would be reflective of her impeccable taste and also incorporate a delicate and feminine baby theme. Fabric shopping for nursery prints has been tough lately! Don't get me wrong, there's lots of great stuff out there, but it seems like it's a lot of the same stuff - overly commercialized and predictable. So, I was ecstatic when I came across the most darling fabric by Moda: Lily and Will by Bunny Hill.
Lily and Willy by Bunny Hill for Moda Fabrics
 The designs come in blue, green and pink. The fabric is an updated twist on a very classic design. Simply precious.
Added bonus: the damask patterns have tiny bunnies hiding in it!

When I saw this fabric I immediately knew I wanted to make a diaper bag out of it to show off all its precious aspects. I used Simplicity pattern 2924 because it provides tons of pockets (an essential feature for any mom) and an easy flap closure. I also thought this style would be advantageous for showcasing the specific aspects of the different fabrics in the collection.
First, I pressed all the fabric. One cannot underestimate the importance of pressing your fabric before you begin cutting the fabric and throughout the construction process. By doing this you will create a neat and professional looking item.
I organized all the fabric to get a better idea of which designs I wanted to use for each aspect of the bag, i.e., straps, flap, exterior, interior, etc.
Then, I cut each pattern piece with the necessary fabrics and interfacing. Placing the transparent pattern over each fabric prior to cutting allowed me to ensure even pattern placement. I did not want the pattern to be off-centered. I was especially meticulous when cutting the flap piece as I wanted the large bunny pattern to be perfectly centered on the front of the bag. 

Exterior front and back pocket fabric
With the front flap fabric, I first measured the height and width of the flap piece itself.
 Then, I measured the height and width of the design I was attempting to center on the front of the flap. I subtracted the design's measurements from the overall dimensions of the flap and divided that number by two (because there are two sides).
 I placed the transparent pattern over the fabric at a distance of the number found above for the length and width of the flap. This resulted in a perfectly centered pattern on the front flap.
Once all the pieces were cut, I organized them for easy access to begin sewing them together. This also helped to assure that I had cut the proper amounts and had sufficient fabric to complete the diaper bag.
I followed the instructions for constructing the bag according to the Simplicity pattern 2924 and this is the result:
Simplicity Pattern 2924 Diaper Bag using Lily and Will by Bunny Hill fabrics

Diaper Bag Exterior

Side pocket with elastic at the rim - securely holds items in place!

Exterior of bag with back pocket

Interior with pockets. These pockets also have elastic at the rim to securely hold items in place.
 This bag is uber feminine and so so so darling! I really liked  using this pattern as well because it's easy to change the style of the bag and still keep the wonderful features like alllll those pockets! I can't wait to make more of these beauties :)